Programming the GD32V Longan Nano

RISC-V is gaining traction and some development boards have already popped up. One of them is the widely available Sipeed Longan Nano. Written information is a bit sparse at the moment. Let’s try to fix this with a quick writeup on wiring and programming the board. If you just want to see what the board can do here is a video instead.
Toolchain
The situation with RISC-V toolchain is somewhat confusing. There are RISC-V Software Collaboration, RISC-V Software, RISC-V Microcontroller and RISC-V repositories. Some vendors also provide their own prebuilt binaries but they often seem to be outdated.
Luckily the toolchain is easy to compile by yourself. Only downside is that the toolchain repository is huge and using a shallow copy did not seem to work.
$ git clone --recursive https://github.com/riscv-collab/riscv-gnu-toolchain.git
$ cd riscv-gnu-toolchain

$ mkdir /opt/riscv
$ ./configure --prefix=/opt/riscv --enable-multilib --with-cmodel=medany
$ make -j8
$ make install
Protip! If you also have Kendryte K210 based development boards, you can use the same toolchain if you configure it like this.
$ ./configure --prefix=/opt/riscv --enable-multilib --with-cmodel=medany \
  --with-arch=rv64imafc --with-abi=lp64f
Additionally you need the RISC-V version of OpenOCD. Below example is for Fedora. You might be missing different set of dependencies.
$ sudo dnf install libtool autoconf automake texinfo
$ sudo dnf install libusb-devel

$ git clone --recursive https://github.com/riscv/riscv-openocd.git
$ cd riscv-openocd

$ ./bootstrap nosubmodule
$ ./configure --prefix=/opt/riscv/
$ make -j8
$ make install
If you are using macOS you can also install the toolchain and OpenOCD with Homebrew.
$ brew tap riscv/riscv
$ brew install riscv-tools
$ brew install riscv-openocd
Nuclei SDK
For programming a GD32V series SoC best choice at the moment is the Nuclei SDK. It seems to be well maintained, exceptionally well structured and is quite easy to learn. Developing is done with your favourite text editor.
The SDK supports three different real time operating systems: FreeRTOS, UCOSII and RT-Thread. Since Longan Nano has only 32kB SRAM you might want to stay baremetal instead.
Nuclei SDK does support Longan Nano out of the box. Basic hello world and the Makefile would look like this.
#include <stdio.h>

void main(void)
{
    printf("Hello world\r\n");
}
TARGET = firmware
NUCLEI_SDK_ROOT = ../nuclei-sdk
SRCDIRS = .

include $(NUCLEI_SDK_ROOT)/Build/Makefile.base
You would compile and upload it with the following commands.
$ make SOC=gd32vf103 BOARD=gd32vf103c_longan_nano all
$ make SOC=gd32vf103 BOARD=gd32vf103c_longan_nano upload
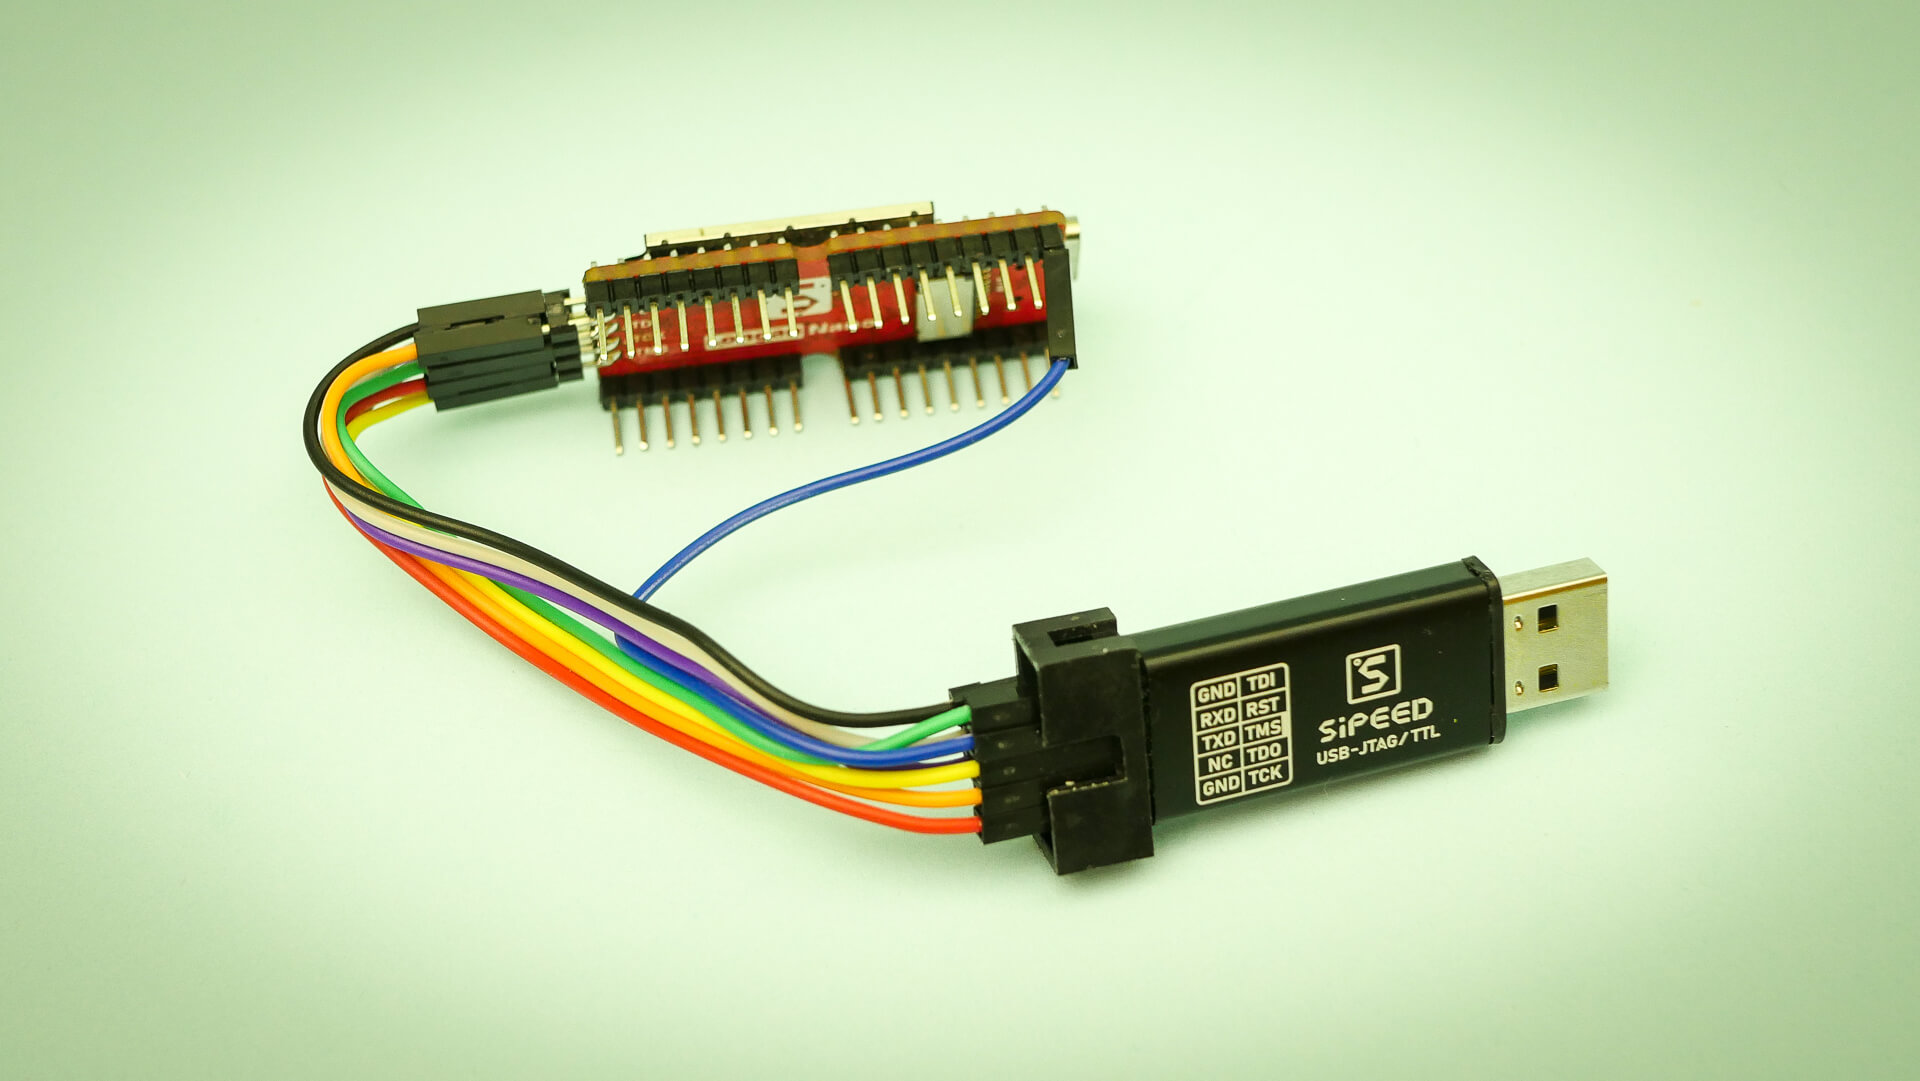
The SDK will take care of basic things such use redirecting STDOUT to USART. This is where the Sipeed USB-JTAG/TTL RISC-V Debugger really pays off. In addition to the JTAG interface it also acts as an USB to TTL converter.
$ screen /dev/ttyUSB1 115200

Nuclei SDK Build Time: Nov 14 2020, 23:17:41
Download Mode: FLASHXIP
CPU Frequency 108540000 Hz
Hello world
Uploading with the Sipeed RISC-V debugger
To make both JTAG and serial interface work you need to connect all pins except NC (duh!) between the debugger and Longan Nano. If nitpicking second ground is also optional. Longan Nano RST is pin number 7 on the left side of the USB socket.

| Debugger | Longan Nano |
|---|---|
| GND | GND |
| RXD | T0 |
| TXD | R0 |
| NC | |
| GND | GND (optional) |
| TDI | JTDI |
| RST | RST |
| TMS | JTMS |
| TDO | JTDO |
| TCK | JTCK |
When flashing you also need to connect the USB-C socket to provide power. When using Nuclei SDK you can flash the firmware with make.
$ make SOC=gd32vf103 BOARD=gd32vf103c_longan_nano upload
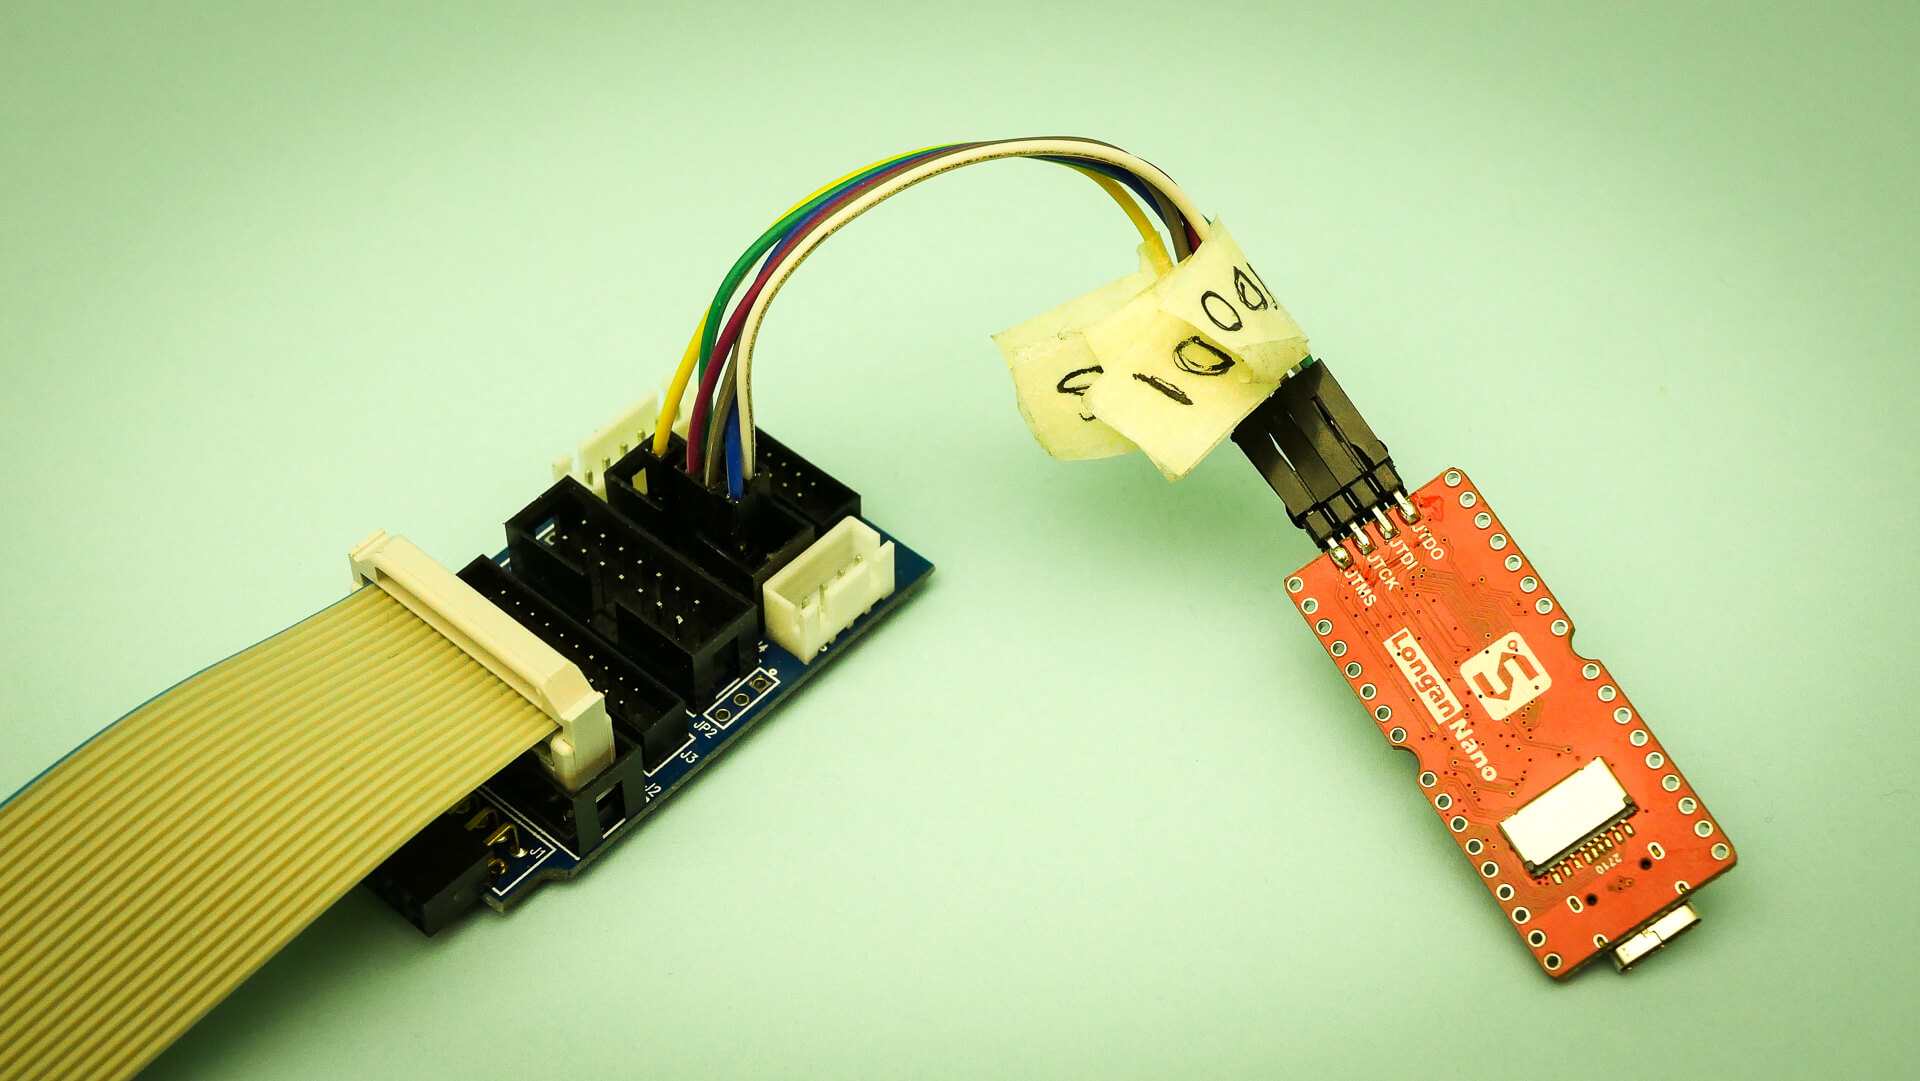
Uploading with the J-Link debugger

| Debugger | Longan Nano |
|---|---|
| VREF | 3v3 |
| GND | GND |
| TDI | JTDI |
| NRST | RST |
| TMS | JTMS |
| TDO | JTDO |
| TCK | JTCK |
You can also use SEGGER J-Link Commander to upload the firmware. The command line utility requires the firmare to be in hex format.
$ riscv64-unknown-elf-objcopy firmware.elf -O ihex firmware.hex
You can connect to Longan Nano’s JTAG interface automatically with the following.
$ JLinkExe -device GD32VF103VBT6 -speed 4000 -if JTAG \
  -jtagconf -1,-1 -autoconnect 1

SEGGER J-Link Commander V6.86e (Compiled Oct 16 2020 18:21:57)
DLL version V6.86e, compiled Oct 16 2020 18:21:45

...

J-Link>
To upload a new firmware manually, first halt the CPU and load the firmware.hex from above. Reset the core and peripherals. Set the program counter to 0x08000000 and finally enable the CPU and exit the command line utility.
J-Link>halt
J-Link>loadfile firmware.hex
J-Link>r
J-Link>setPC 0x08000000
J-Link>go
J-Link>q
If the new firmware does no run automatically you might need to powercycle the board.
While manually poking the internals might be fun it gets bothersome in the long run. You can also put the above commands to an external file and pass it to JLinkExe to do all of the above automatically.
$ cat upload.jlink
halt
loadfile firmware.hex
r
setPC 0x08000000
go
q
$ JLinkExe -device GD32VF103VBT6 -speed 4000 -if JTAG \
  -jtagconf -1,-1 -autoconnect 1 -CommanderScript upload.jlink
Uploading via USB
If you don’t have an external debugger it is also possible to upload via USB. At the time of writing you need to use latest dfu-util built from source.
$ git clone git://git.code.sf.net/p/dfu-util/dfu-util
$ cd dfu-util
$ ./autogen.sh
$ ./configure --prefix=/opt/dfu-util
$ make -j8
$ sudo make install
Then add /opt/dfu-util/bin to your $PATH and you should be able to flash the firmware via USB.
$ make SOC=gd32vf103 BOARD=gd32vf103c_longan_nano bin
$ dfu-util -d 28e9:0189 -a 0 --dfuse-address 0x08000000:leave -D firmware.bin
Before running dfu-util you need to put the board to download mode. Do this by holding down the RESET and BOOT buttons and then release them in the same order.
Uploading via Serial
Finally the GD32V also offers the good old serial bootloader. Although meant to be used with the STM32 family the stm32flash utility seems to work. You also need to add /opt/stm32flash/bin to your $PATH and you are good to go.
$ git clone https://git.code.sf.net/p/stm32flash/code stm32flash
$ cd stm32flash
$ autoreconf -i -v
$ ./configure --prefix=/opt/stm32flash
$ make -j8
$ sudo make install
You also need an USB to TTL converter. I am using TTL-234X-3V3. Note that while signal levels are 3V3 the VCC on this converter is 5V. With this converter VCC cannot be connected to the debug header. Connect it to the 5V pin instead. This will also power up the board.
| USB to TTL | Longan Nano |
|---|---|
| GND | GND |
| VCC | 5V |
| RXD | T0 |
| TXD | R0 |
After wiring is correct you can test if the connection works. Go to bootloader mode by first holding down the RESET and BOOT buttons and then release them in same order. When in bootloader mode you can probe the usb device.
$ stm32flash /dev/ttyUSB0 -b 115200

stm32flash 0.5

http://stm32flash.sourceforge.net/

Interface serial_posix: 115200 8E1
GET returns unknown commands (0x 6)
Version      : 0x30
Option 1     : 0x00
Option 2     : 0x00
Device ID    : 0x0410 (STM32F10xxx Medium-density)
- RAM        : 20KiB  (512b reserved by bootloader)
- Flash      : 128KiB (size first sector: 4x1024)
- Option RAM : 16b
- System RAM : 2KiB
While stm32flash utility detects a device in it gets the specs wrong. Probably because officially it does not support the GD32V family. Flashing still works fine though. You can flash both .bin and .hex files.
$ stm32flash -g 0x08000000 -b 115200 -w firmware.bin /dev/ttyUSB0


stm32flash 0.5

http://stm32flash.sourceforge.net/

Using Parser : Raw BINARY
Interface serial_posix: 115200 8E1
GET returns unknown commands (0x 6)
Version      : 0x30
Option 1     : 0x00
Option 2     : 0x00
Device ID    : 0x0410 (STM32F10xxx Medium-density)
- RAM        : 20KiB  (512b reserved by bootloader)
- Flash      : 128KiB (size first sector: 4x1024)
- Option RAM : 16b
- System RAM : 2KiB
Write to memory
Erasing memory
Wrote address 0x08011d30 (100.00%) Done.

Starting execution at address 0x08000000... done.
Hello World on Screen
For graphics programming you could use HAGL. As the name implies HAGL is a hardware agnostic graphics library. To make it work with Longan Nano you also need a HAGL GD32V HAL
$ cd lib
$ git clone https://github.com/tuupola/hagl.git
$ git clone https://github.com/tuupola/hagl_gd32v_mipi.git hagl_hal
Add both dependencies to the project Makefile.
TARGET = firmware
NUCLEI_SDK_ROOT = ../nuclei-sdk
SRCDIRS = . lib/hagl/src lib/hagl_hal/src
INCDIRS = . lib/hagl/include lib/hagl_hal/include

include $(NUCLEI_SDK_ROOT)/Build/Makefile.base
With all this in place you can create a flashing RGB Hello world!
#include <nuclei_sdk_hal.h>
#include <hagl_hal.h>
#include <hagl.h>
#include <font6x9.h>

void main()
{
    color_t red = hagl_color(255, 0, 0);
    color_t green = hagl_color(0, 255, 0);
    color_t blue = hagl_color(0, 0, 255);

    hagl_init();
    hagl_clear_screen();

    while (1) {
        hagl_put_text(L"Hello world!", 48, 32, red, font6x9);
        delay_1ms(100);

        hagl_put_text(L"Hello world!", 48, 32, green, font6x9);
        delay_1ms(100);

        hagl_put_text(L"Hello world!", 48, 32, blue, font6x9);
        delay_1ms(100);
    };
}
Animations on screen
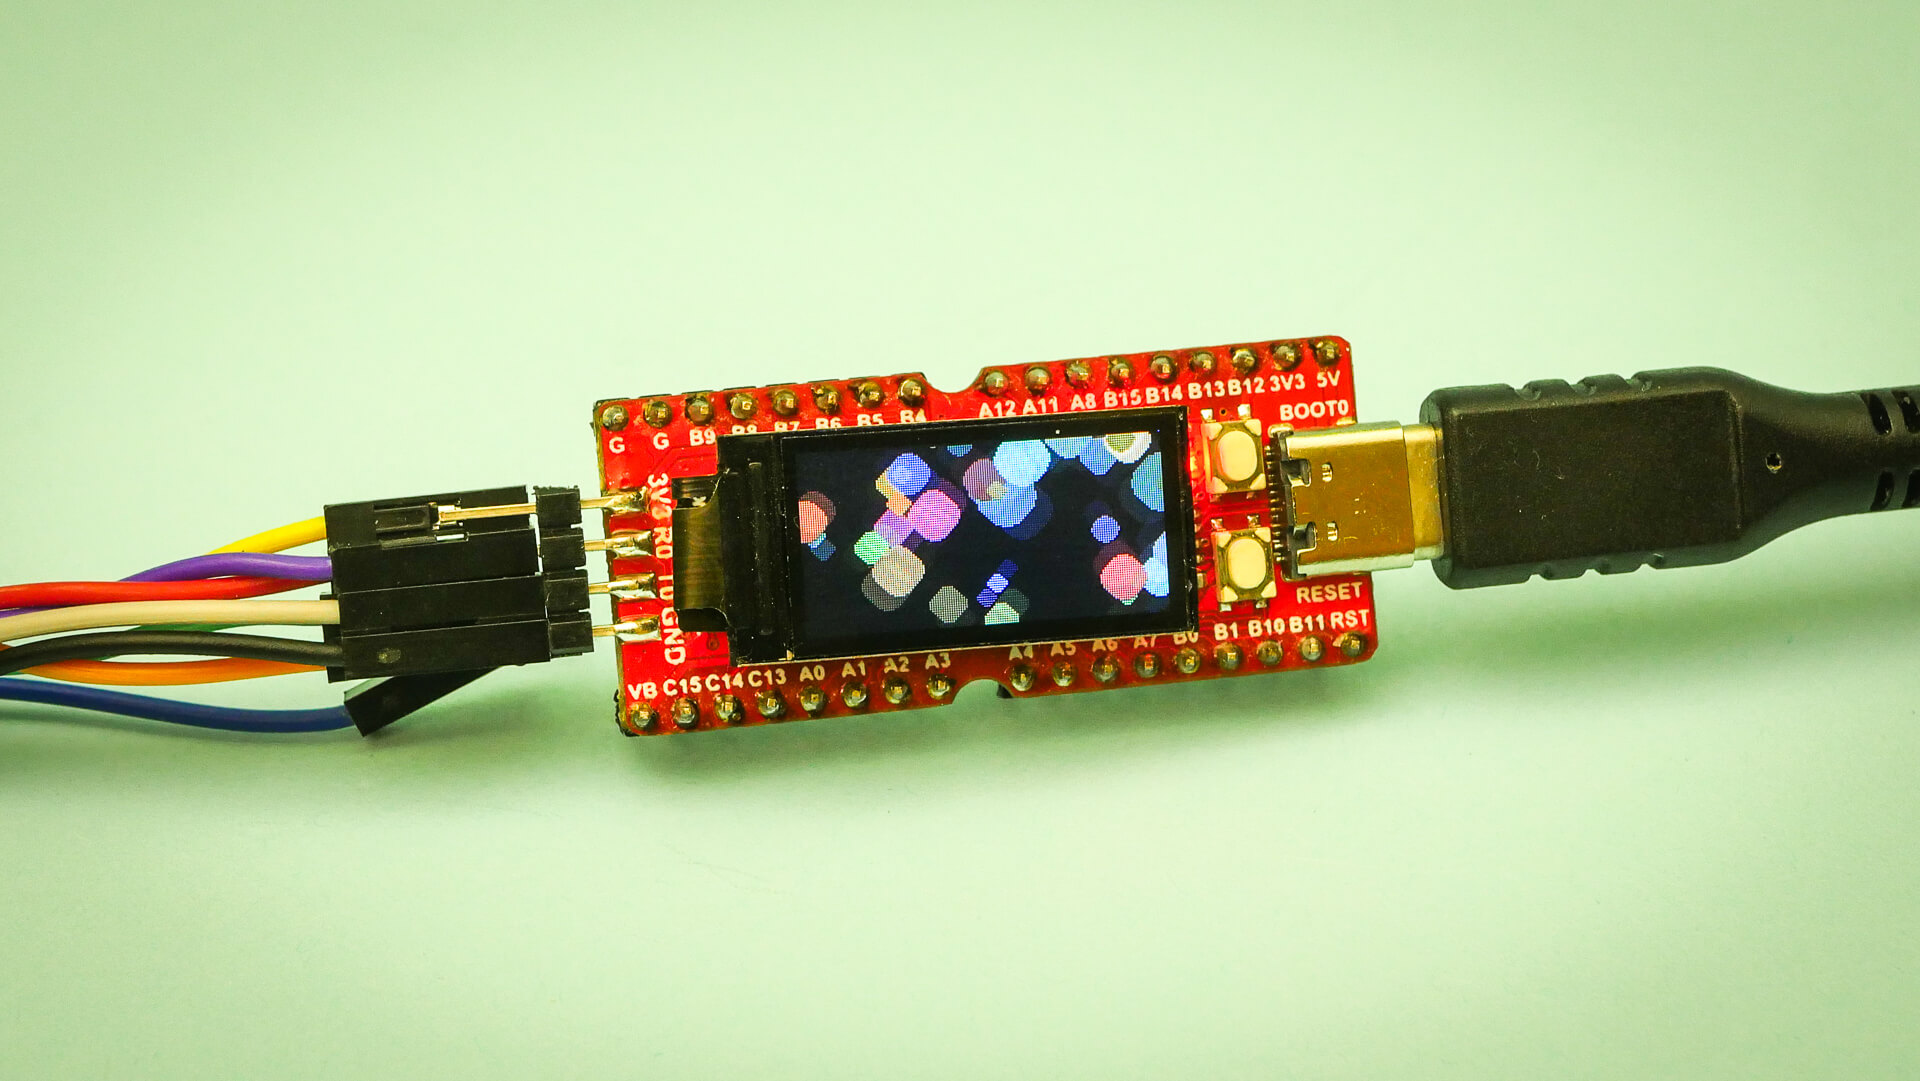
For testing purpose lets assume we have three functions to initialise, animate and render bouncing balls on the screen.
balls_init();
balls_animate();
balls_render();
You can find the actual implementation in GitHub. With above functions we can implement the main loop.
#include <hagl_hal.h>
#include <hagl.h>

void main()
{
    hagl_init();
    balls_init();

    while (1) {
        balls_animate();
        hagl_clear_screen();
        balls_render();
    };
}

Writing directly to display is fine for unanimated content. However above code will have a horrible flicker. Problem can be fixed by enabling double buffering in hte Makefile.
COMMON_FLAGS += -DHAGL_HAL_USE_DOUBLE_BUFFER
With double buffering enabled we also need to flush the contents from back buffer to display ie. front buffer. Here I also add some delay to slow down the animation.
#include <nuclei_sdk_hal.h>
#include <hagl_hal.h>
#include <hagl.h>

void main()
{
    hagl_init();
    balls_init();

    while (1) {
        balls_animate();
        hagl_clear_screen();
        balls_render();

        hagl_flush();
        delay_1ms(30);
    };
}
This is very naive approach and you need to manually adjust the delay to avoid tearing. It would be better to implement an fps limiter and flush the contents, for example 30 times per second.
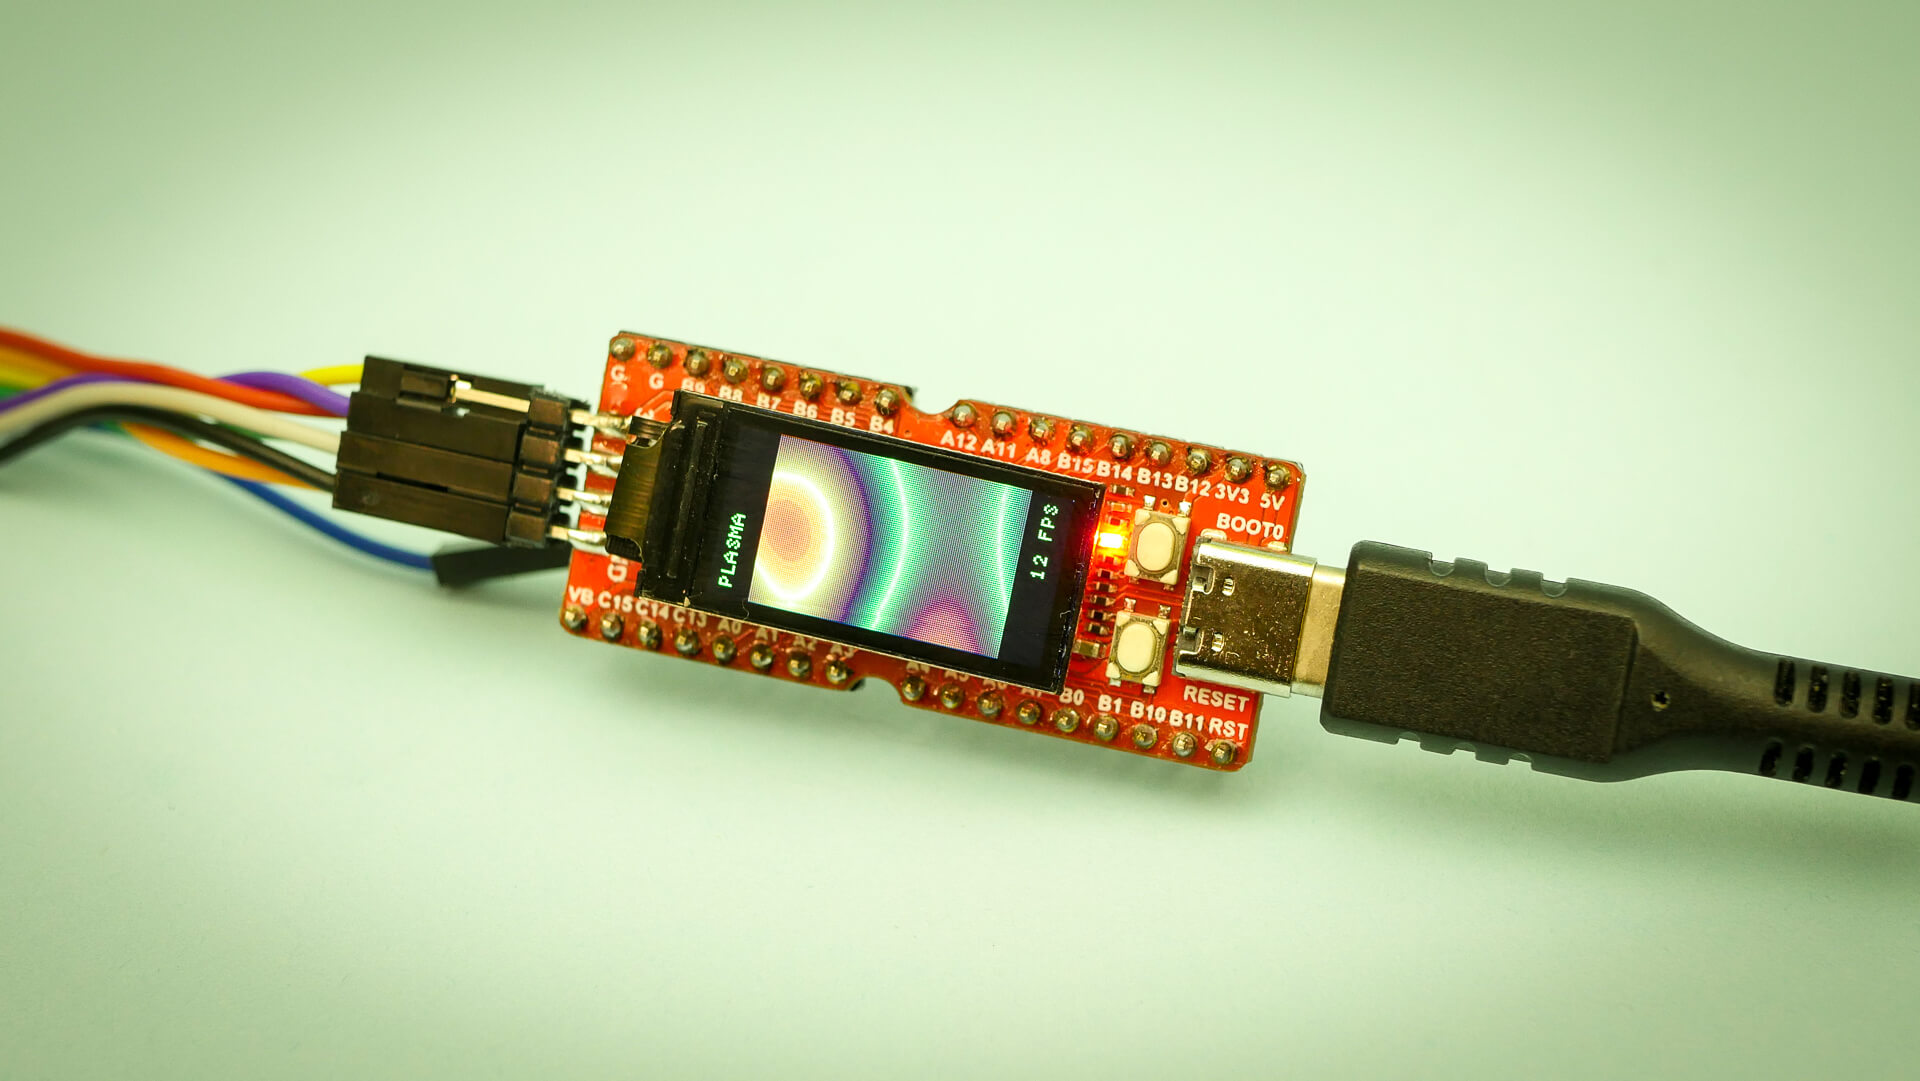
Even though the Longan Nano is not the fastest and has only 32kB of memory the Nuclei SDK makes it pleasant to work with. Despite being tiny you can still do interesting stuff such as old school demo effects with it.