Wifi Geolocation With MicroPython
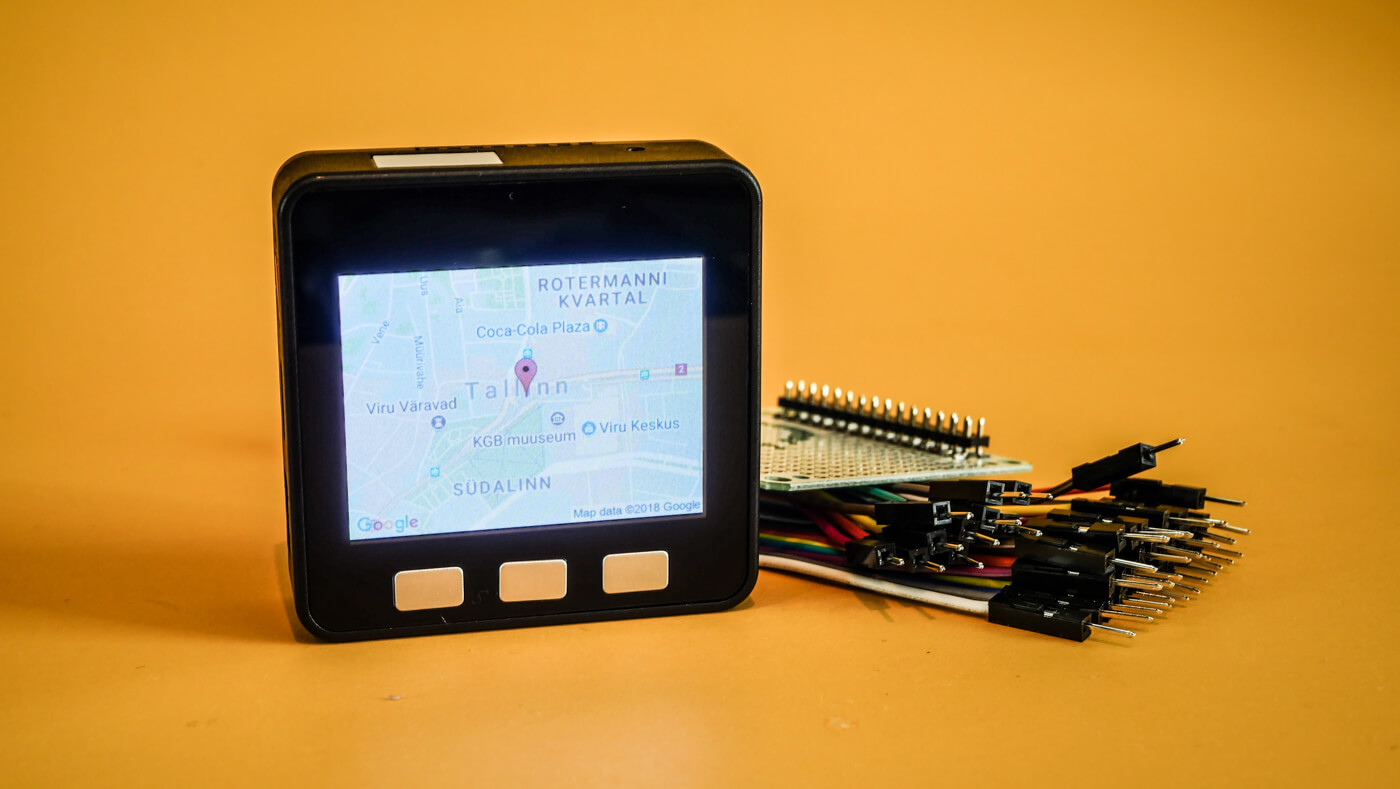
While evaluating M5Stack for a sidehustle project I created a proof of concept which needed to access wifi network, query an API and download an image. Wifi geolocation which displays a static Google map seemed like a perfect fit. Here are some notes about it.
This project is based on the M5Stack kitchen sink. Development was done using Loboris fork of MicroPython. Finished code can be found in GitHub.
Load Settings
The program starts by loading settings from json file. This file contains contains wifi credentials and a Google Maps API key.
{
    "username": "wifiuser",
    "password": "wifipass",
    "api_key": "googlemapsapikey"
}
import ujson as json

with open("/flash/settings.json") as fp:
    settings = json.loads(fp.read())
Scan Nearby Wifi Networks
ESP32 contains two wifi interfaces. STA_IF is the station interface which is used when connecting to a router. STA_AP is the access point interface which is used when other devices connect to the ESP32.
Nearby networks can be scanned with the station interface.
import network

station = network.WLAN(network.STA_IF)
station.active(True)
station.connect(settings["username"], settings["password"])

while not station.isconnected():
    pass

networks = station.scan()
Geolocate Using Wifi Network Data
With the network data in hand we can now find the location of the ESP32 board. For this we need to use a Geolocation API. There are several but the Google Maps Geolocation API is the most well known.
Geolocation API is queried by sending a POST request with a json structure containing the network data. In case wifi location is not found considerIp controls whether to use ip address location as the backup or not.
{
    "considerIp": "false",
    "wifiAccessPoints": [
        {
            "macAddress": "00:25:9c:cf:1c:ac",
            "signalStrength": -43,
            "channel": 10
        },
        {
            "macAddress": "00:25:9c:cf:1c:ad",
            "signalStrength": -55,
            "channel": 8
        }
    ]
}
Python equivalent of above structure can be created as a dict. This can later be serialized to json string with json.dumps().
import ustruct as struct

data = {
    "considerIp": False,
    "wifiAccessPoints": []
}

for wifi in networks:
    entry = {
        "macAddress": "%02x:%02x:%02x:%02x:%02x:%02x" % struct.unpack("BBBBBB", wifi[1]),
        "signalStrength": wifi[3],
        "channel": wifi[2]
    }
    data["wifiAccessPoints"].append(entry)
Making the API requests itself is is done with urequests library. API key was loaded in the beginning from settings.json file. Since we are sending json the correct Content-Type header should also be set.
import ujson as json
import urequests as requests

headers = {"Content-Type": "application/json"}
url = "https://www.googleapis.com/geolocation/v1/geolocate?key=" + settings["api_key"]

response = requests.post(url, headers=headers, data=json.dumps(data))
location = json.loads(response.content)["location"]
Succesful geolocation query returns latitude, longitude and accuracy.
{
    "location": {
        "lat": 51.0,
        "lng": -0.1
    },
    "accuracy": 1200.4
}
The above code ignores accuracy and saves only latitude and longitude to the variable location.
Downloading the Map
The hard part of downloading the map is building the url. Center is the coordinates from previous section. We also put one marker to same location. For size we use 320x240 which is the M5Stack sceen size. Zoom can be anyting between 0 and 20. However something close to 15 is a good start. Format must be jpg-baseline
query = {
    "center": "%.8f,%.8f" % (location["lat"], location["lng"]),
    "markers": "%.8f,%.8f" % (location["lat"], location["lng"]),
    "size": "320x240",
    "zoom": 15,
    "format": "jpg-baseline"
}

query_string = "&".join("%s=%s" % (key, value) for key, value in query.items())

url = "https://maps.googleapis.com/maps/api/staticmap?" + query_string
With the map url in hand the image can be download again with urequests library.
image = requests.get(url)
Due display drivers lack of support of displayin images from memory buffer, the map image has to be saved to a file. The image variable contains an Response object. Binary image data can be accessed using image.content property.
fp = open("/flash/map.jpg", "wb")
fp.write(image.content)
fp.close()
Display the Map
M5STack has a 320x240 display based on ILI9341 driver. Pin definitions come from the M5Stack kitchen sink helpers. Note that display.TFT() is specific to Loboris fork. It is not available in vanilla MicroPython.
import display
import m5stack

tft = display.TFT()
tft.init(
    tft.ILI9341,
    spihost=tft.HSPI,
    width=320,
    height=240,
    mosi=m5stack.TFT_MOSI_PIN,
    miso=m5stack.TFT_MISO_PIN,
    clk=m5stack.TFT_CLK_PIN,
    cs=m5stack.TFT_CS_PIN,
    dc=m5stack.TFT_DC_PIN,
    rst_pin=m5stack.TFT_RST_PIN,
    backl_pin=m5stack.TFT_LED_PIN,
    backl_on=1,
    speed=2600000,
    invrot=3,
    bgr=True
)
Final step is to display the static map we just downloaded.
tft.image(0, 0, "/flash/map.jpg")
Finished code adds some goodies such as zoom in and out with buttons. Code is also better structured into separate classes.