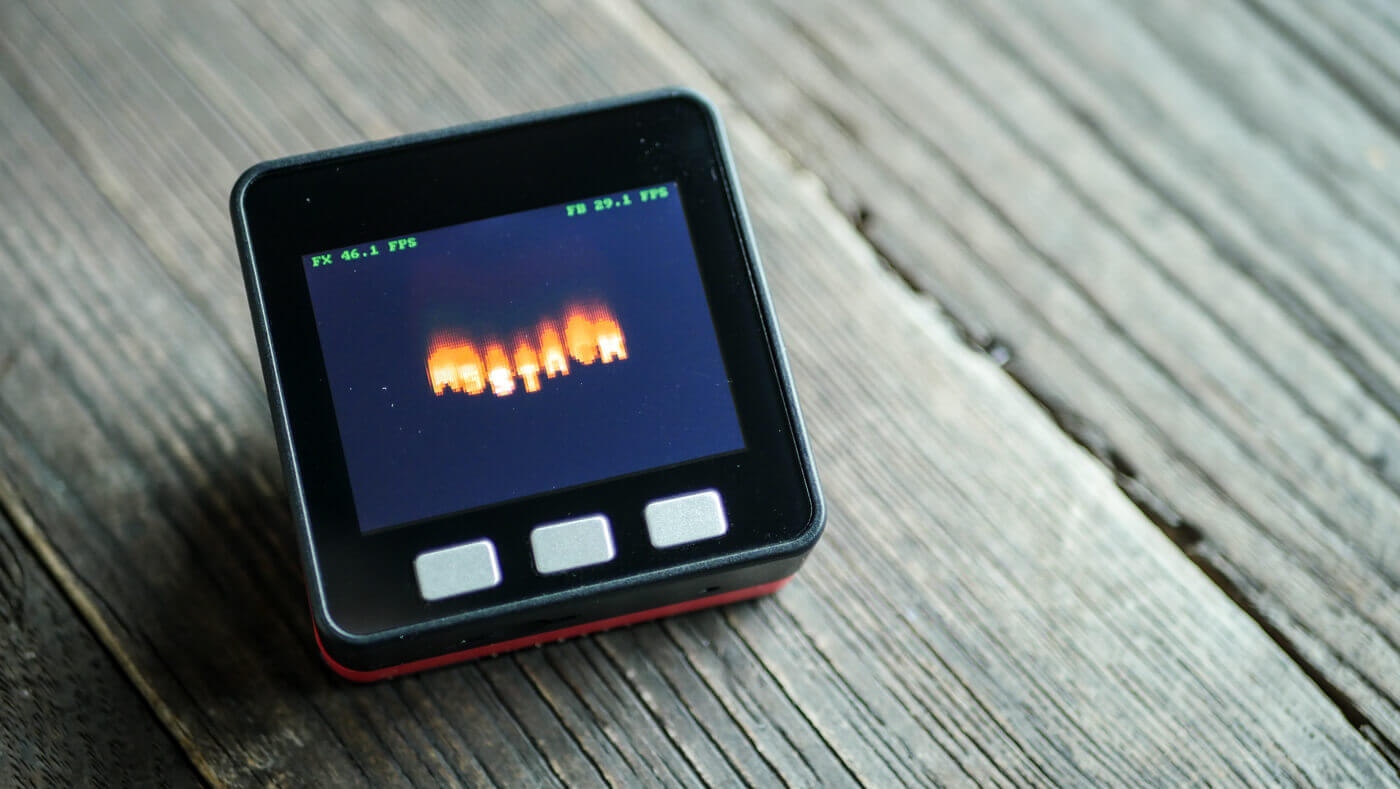
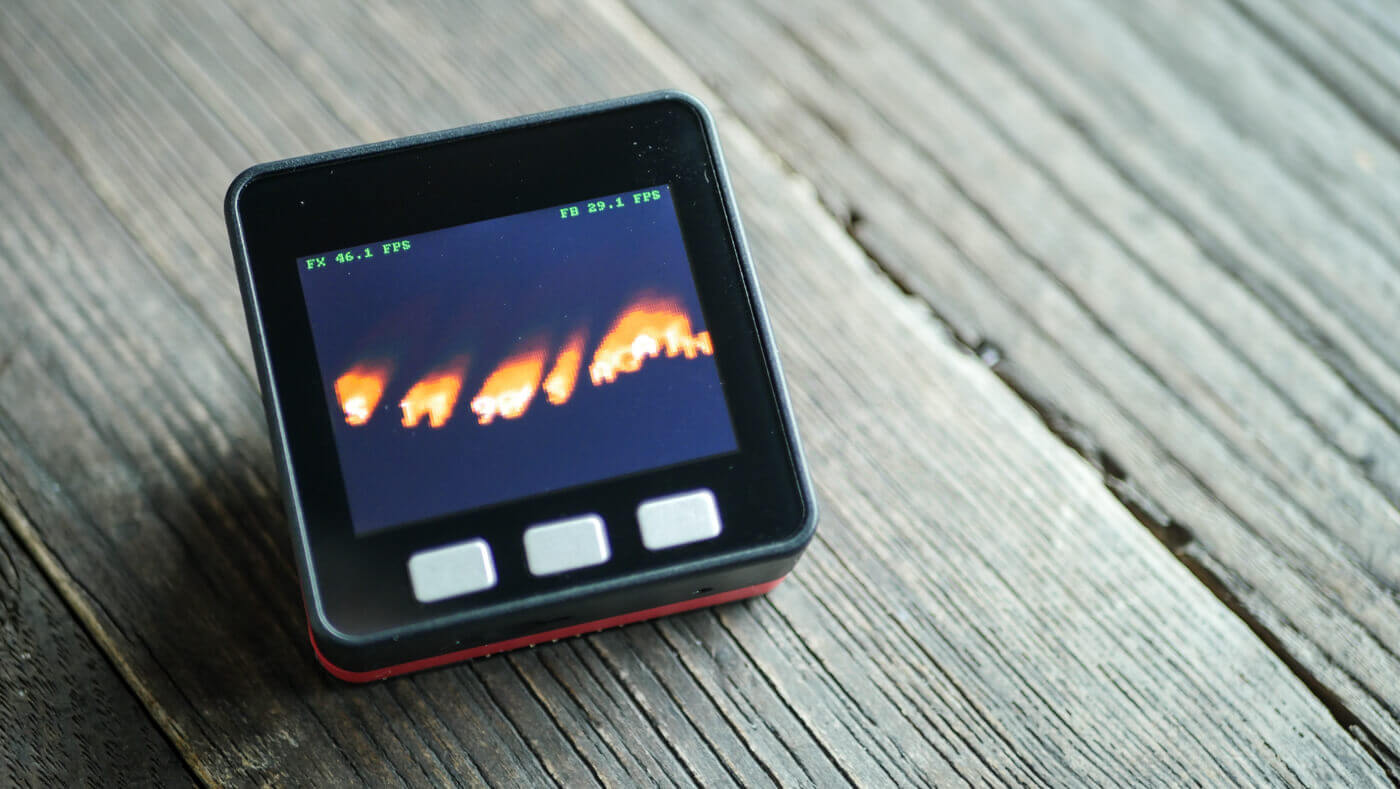
M5Stack on Fire!

My life has come to a full circle. I remember sitting in my parents basement in the late 90’s programming the fire effect using mixture of Borland Turbo Pascal and Assembler. I had an Intel 80386 which also had the 80387 coprocessor. I remember downloading Lode’s graphics tutorials from FidoNet. It was all magic.
Last week I found myself reading the same tutorials and creating the same fire effect again. Instead of Intel PC, it was written for ESP32 based M5Stack and using C programming language.
Last time I tried to learn C was about eight years ago. After a while I gave up. My first electronics project was an Internet controllable xylophone which recorded a video of the song the user created and sent a download link to email. Like a poor man’s version of the Absolut Machines. Some photos are still in the old Flickr album.
Now is my second time for me to learn C. It seems to go better this time. I do admit I often suffer from the not invented here syndrome. While learning I started two new open source projects: ESP ILI9341 driver and Copepod. Latter is a lightweight hardware agnostics graphics library. Both were used in the fire effect demo.
ILI9341 display driver
For this one I really cannot take the credit. It is mostly taken from SPI Master example found at the ESP-IDF repository. I just extracted the important parts of code and made it more driver like. The driver provides two graphical functions: first one for setting a pixel and second one for blitting an RGB565 bitmap.
#include <driver/spi_master.h>
#include "ili9341.h"

spi_device_handle_t spi;
ili9341_init(&spi);

ili9431_putpixel(spi, x0, y0, color);
ili9431_blit(spi, x0, y0, w, h, &bitmap)
Graphical functions use DMA so it is pretty fast. With 48kHz SPI clock the driver can blit a 16bit 320x240 bitmap approximately 29 times per second. In other words even when using a virtual framebuffer you will get almost 30 fps.
Song is Boink by the excellent Ozzed.
Copepod graphics library
I wanted to call the graphics library Plankton. You know, something small. GitHub search revealed several projects named Plankton so I switched to another small sea critter. Copepod is a lightweight hardware agnostic graphics library. It currently supports only basic geometric primitives, bitmaps, blitting, fixed width fonts and provides an optional framebuffer implementation.
pod_putpixel(x0, y0, color);
pod_line(x0, y0, x1, y1, color);
pod_hline(x0, y0, width, color);
pod_vline(x0, y0, width, color);
pod_rectangle(x0, y0, x1, y1, color);
pod_fillrectangle(x0, y0, x1, y1, color);
For text output the fonts must be of same format as dhepper/font8x8.
pod_putchar(ascii, x0, y0, color, font);
pod_puttext(&str, x0, y0, color, font);
Blit copies a bitmap to the screen. You can also copy a bitmap scaled up or down.
pod_blit(x0, y0, &bitmap);
pod_scale_blit(x0, y0, w, h, &bitmap);
Copepod does not know anything about the underlying hardware. It must be provided with HAL which actually puts the pixels on the screen. Fire demo uses ESP ILI9341 HAL which in turn uses the ESP ILI9341 driver.
Fire fire fire!
I will not go into details how the fire effect works. Read the classic fire tutorial for thorough explanation. Below is an overview of the different tasks used to build the demo. Full source code can be found in GitHub.

If you want to run the code yourself first install ESP-IDF toolchain. Make sure you can compile the example successfully. When that is done compile and install the fire demo with the commands below.
$ git clone git@github.com:tuupola/esp-examples.git
$ cd esp-examples
$ git submodule update --init
$ cd 010-m5stack-fire
$ make menuconfig
$ make flash
For M5stack only needed menuconfig change is the serial flasher port which should be /dev/cu.SLAB_USBtoUART.
Main
The main program starts four FreeRTOS tasks. Note that FreeRTOS is not needed in any way for the effect. However since ESP-IDF already provides it, it is a really convenient way to divide everything into smaller tasks.
xTaskCreatePinnedToCore(framebuffer_task, "Framebuffer", 8192, NULL, 1, NULL, 0);
xTaskCreatePinnedToCore(fps_task, "FPS", 4096, NULL, 2, NULL, 1);
xTaskCreatePinnedToCore(fire_task, "Fire", 8192, NULL, 1, NULL, 1);
xTaskCreatePinnedToCore(switch_task, "Switch", 2048, NULL, 1, NULL, 1);
Note how the framebuffer tast is pinned to the core 0. This frees all the cpu in core 1 to render the effect. Since framebuffer uses DMA also core 0 is mostly idling.
Fire task
This task is responsible of generating the fire effect itself. While the framebuffer has full 320x240 resolution, the fire effect has only 110x80 pixels. I had problems fitting everything in memory. With lower resolution comes speed though. Effect is rendered approximately 45 times per second.
The 110x80 fire effect is rendered into a temporary bitmap. When ready it is scaled up to 320x220 pixels and blitted to the virtual framebuffer. 20 pixels on top of the screen are reserved to the statusbar.
FPS task
FPS task simply displays the top status bar which show the fps rate for both the effect and the framebuffer.
Switch task
The demo has three different effects: burning M5Stack text, sine scroller and full screen fire. This task simply switches between them.
Framebuffer task
Until now everything has been written into a virtual framebuffer. It is a struct which contains a 320x240 RGB565 bitmap. Framebuffer task blits this buffer to the display as fast as it can in an endless loop.

Where to buy?
You can find M5Stack from both Banggood and AliExpress. Links below are affiliate links. If you buy something I will be a happy puppy. I have had success ordering from both.
| Model | $ | € | |
|---|---|---|---|
| AliExpress | M5Stack MPU9250 | $41.00 | €35.30 |
| AliExpress | M5Stack MPU9250 4MB | $44.00 | €37.80 |
| BangGood | M5Stack | $36.50 | €31.30 |
| BangGood | M5Stack MPU9250 | $46.00 | €39.50 |
| BangGood | M5Stack 850mAh battery | $12.80 | €11.00 |