Zoom and Pan Controls With Static Maps
Heads up! This article was written in 2008 and it exists mostly for historical purposes.

Most of the code from previous Static Maps experiments is now put into one clean package. Previously I showed you how to work with markers and bounds. Now we go forward and add zoom and pan controls. It takes only few lines of code. If you just started reading the series check the theory how it works. As a bonus lets add infowindows / bubbles too.
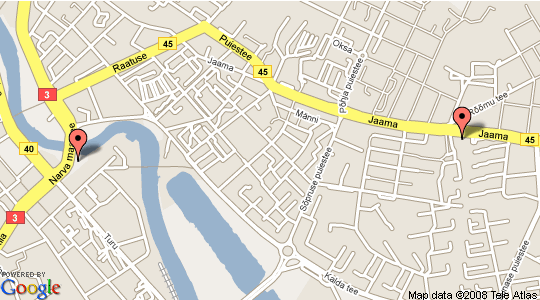
Note! Image above is just a screenshot. You can test final result in the demo.
Create Map and Some Markers
Start by creating new map object and set the size. We also need to give our API key. Markers are positioned on map using location object. Location can be latitude and longitude represented by Google_Maps_Coordinate object. Location can also be map x and y represented by Google_Maps_Point object.
Because we put markers to map the center is calculated automatically. There is no need to call $map->setCenter(). We can also calculate the closest possible zoom with $map->zoomToFit().
require_once 'Google/Maps.php';

$map = Google_Maps::create('static');
$map->setSize('540x300');
$map->setKey(API_KEY);

$coord_1 = new Google_Maps_Coordinate('58.378700', '26.731110');
$coord_2 = new Google_Maps_Coordinate('58.379646', '26.764090');

$marker_1 = new Google_Maps_Marker($coord_1);
$marker_2 = new Google_Maps_Marker($coord_2);

$map->addMarker($marker_1);
$map->addMarker($marker_2);
$map->zoomToFit();

Add Zoom and Pan Controls
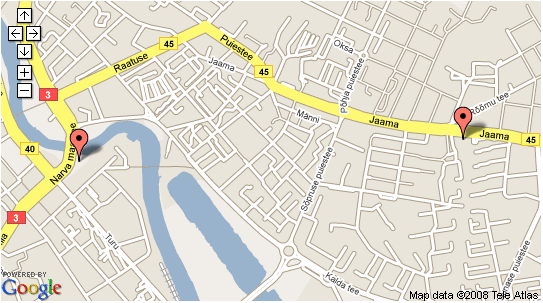
Controls are created using Google_Maps_Control::create() factory method. After creating a control you must attach it to a map. This alone is not enough. When panning and zooming new map center or zoom value is passed in query string. Last line passes the values from URL to the map object.
$zoom = Google_Maps_Control::create('zoom');
$map->addControl($zoom);
$pan = Google_Maps_Control::create('pan');
$map->addControl($pan);

$map->setProperties($_GET);

Note! Image above is just a screenshot. You can test working controls in the demo.
Add Infowindows / Bubbles
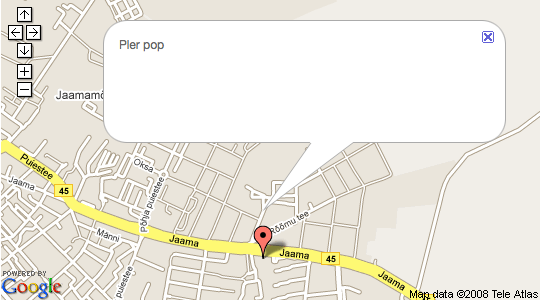
Infowindows (or bubbles as they are often referred) are represented by Google_Maps_Infowindow object. You can set the content in constructor or using $bubble->setContent() method. Bubbles have a marker attached to them. Clicking the marker will open the infowindow. As with all other items you must attach them to map.
$bubble_1 = new Google_Maps_Infowindow('Foo Bar');
$bubble_2 = new Google_Maps_Infowindow('Pler pop');

$bubble_1->setMarker($marker_1);
$bubble_2->setMarker($marker_2);

$map->addInfowindow($bubble_1);
$map->addInfowindow($bubble_2);

Note! Image above is just a screenshot. You can test working infobubbles in the demo.
Where’s the Source?
If you want to play around with code you can get from github. Patches, improvements and suggestion are welcome.
$ git clone git://github.com/tuupola/php_google_maps.git
$ wget http://github.com/tuupola/php_google_maps/zipball/master